Restoration process

A careful process from first review to final handover.

The right restoration plan is built in stages. Each stage answers a practical question before the next one begins.

Photographs and history

We begin with the information the owner already has: photographs of the dial, movement, case, back, labels, key, pendulum and visible damage. Family history and previous repair notes are useful because they explain why certain parts may have been changed.

Transport guidance

Some clocks should not be moved casually. Pendulums, weights, glass domes, loose keys and fragile finials may need separate packing. We advise on safe handling before the clock reaches the workshop.

Bench inspection

The clock is examined for wear, corrosion, old oil, missing parts, unsafe springs, dial fragility and cabinet instability. The aim is to understand cause, not simply to list visible symptoms.

Work plan and approval

The owner receives a clear recommendation. Essential work, optional conservation and areas best left untouched are explained before restoration starts.

Horology notes, gears and watchmaker tools arranged on a bench
Every decision is recorded
Documentation helps owners understand the clock today and care for it tomorrow.
Bench sequence

What happens after approval.

The exact route depends on clock type, but most projects follow a disciplined sequence so nothing important is hidden by cosmetic work.

Disassembly and mapping

Photographs and notes record how plates, wheels, levers, springs, dial hardware and case fittings relate to one another. This protects unusual constructions and explains previous repairs.

Cleaning and corrosion control

Components are cleaned according to material and condition. Active rust is treated with controlled methods, while stable patina is preserved where it supports authenticity.

Wear correction

Worn pivot holes, rough pivots, weak springs, bent teeth, poor endshake or misaligned levers are corrected when they affect safety or reliability.

Assembly and lubrication

The movement is assembled with suitable lubrication and checked for freedom before full power is applied. Excess oil is avoided because it attracts dust and accelerates wear.

Regulation and cycle testing

The clock is observed through repeated running and striking cycles. Pendulum clocks are tested for beat, level sensitivity and stable amplitude.

Handover guidance

Owners receive clear notes for winding, placement, humidity, transport and future inspection intervals, along with a summary of completed work.

When we recommend less

Some clocks should not be over-restored.

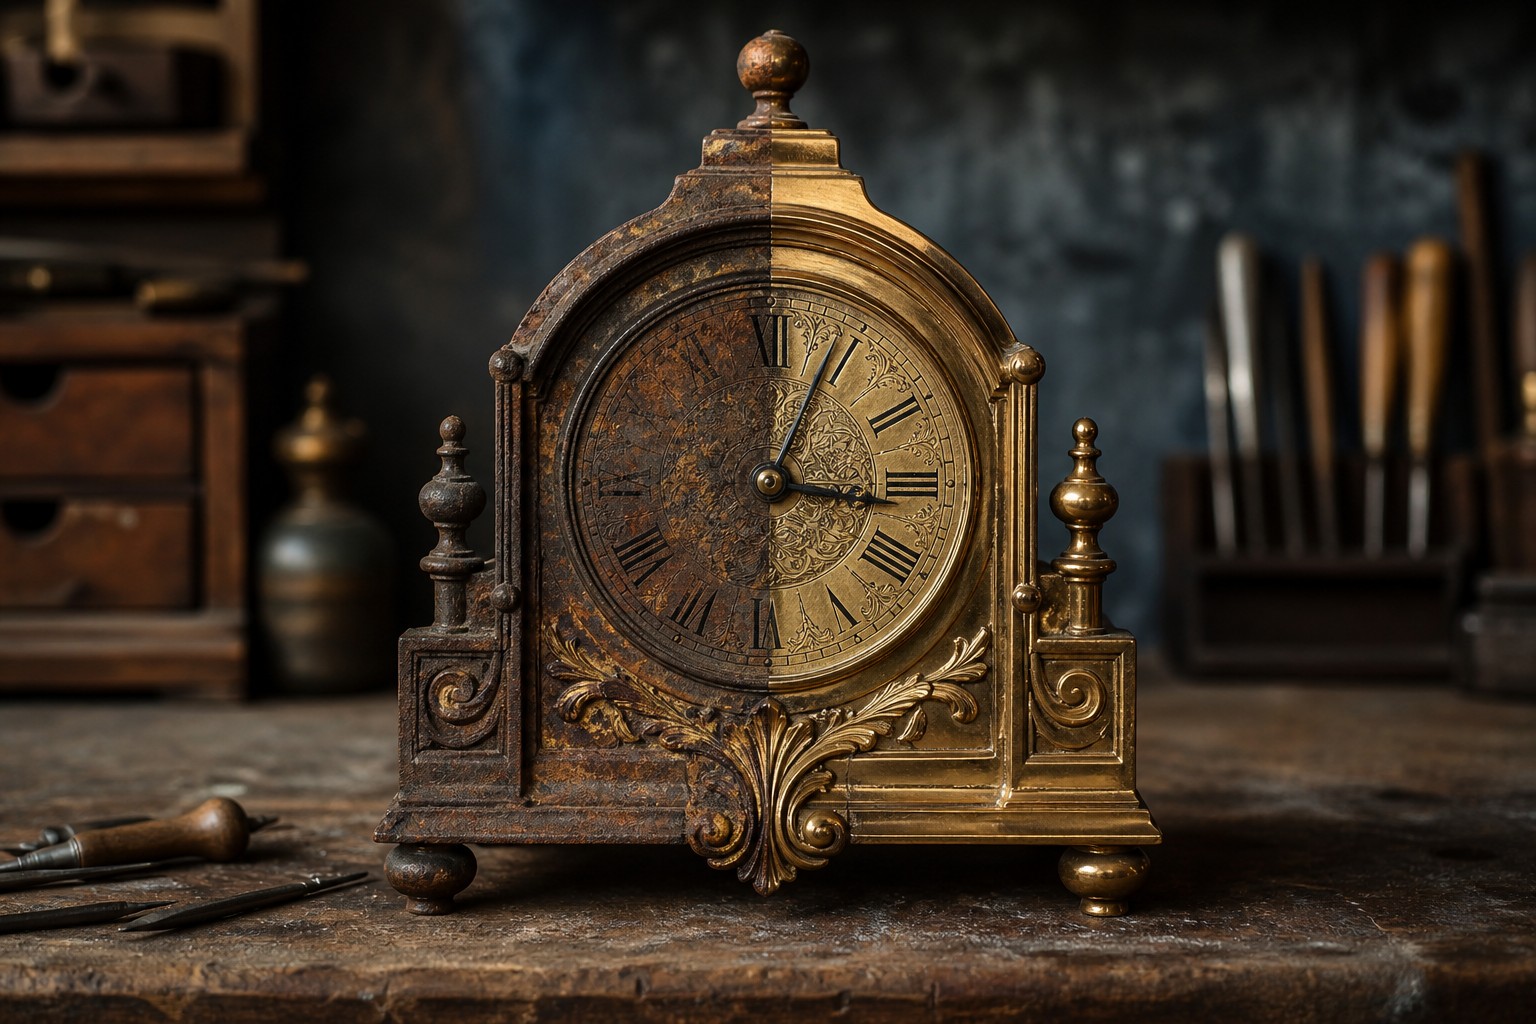
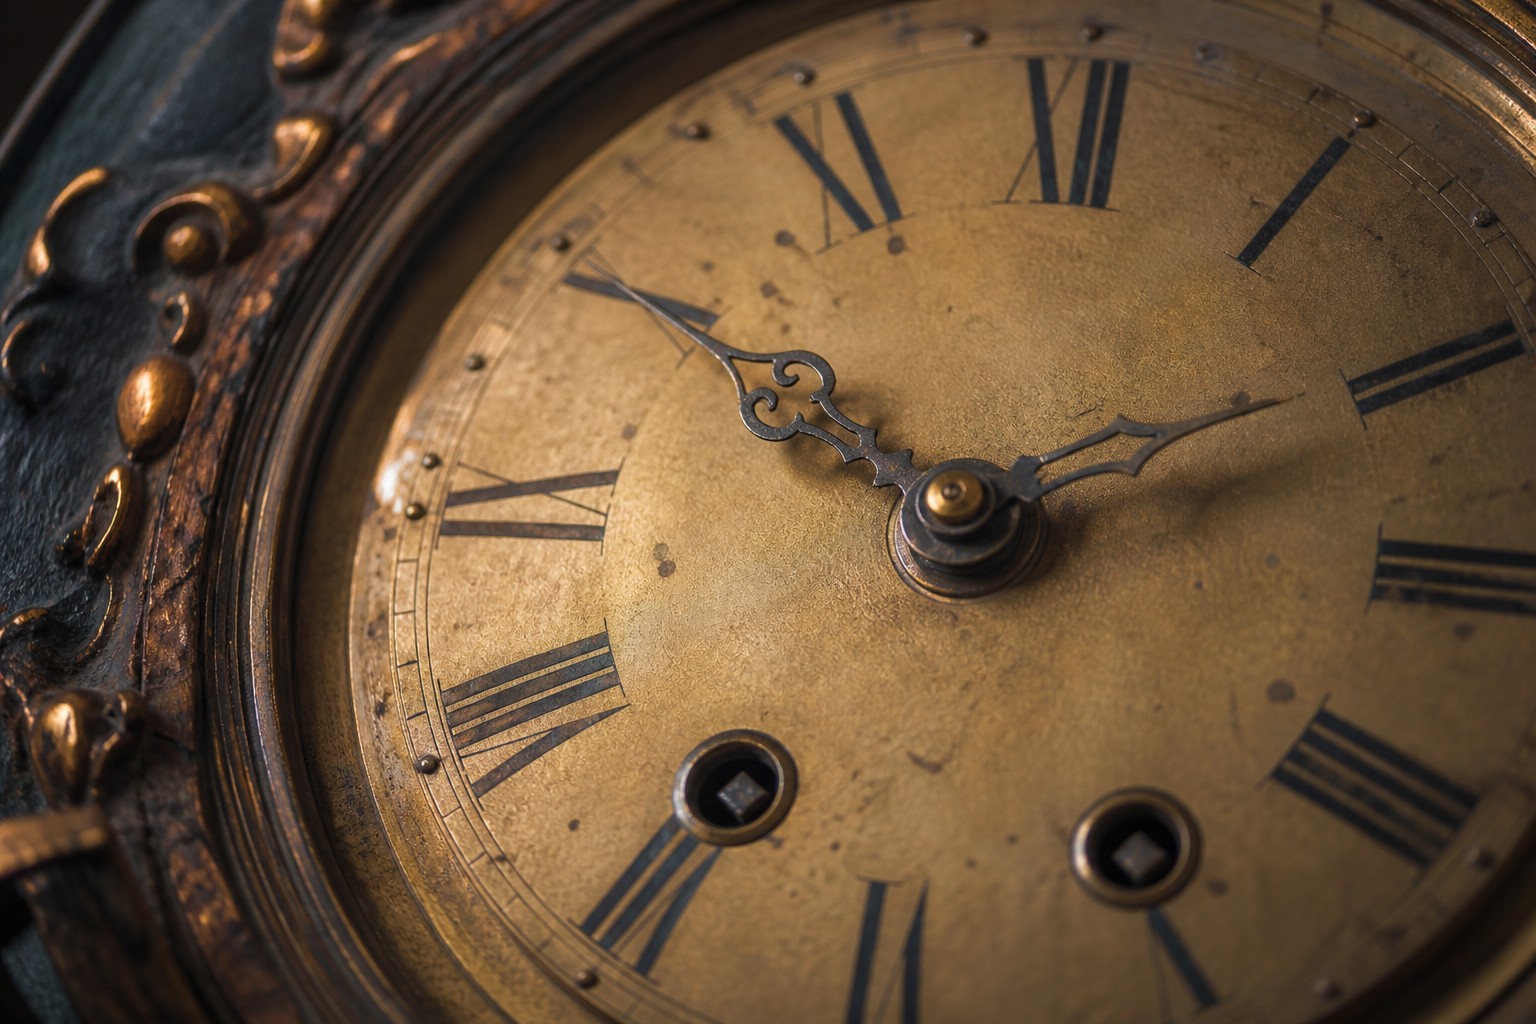
A fully stripped case or repainted dial may look impressive for a short time and lose historical coherence permanently. We may recommend stabilising a lifting finish rather than refinishing it, cleaning only loose dial dirt, or preserving discolouration that belongs to the clock’s life.

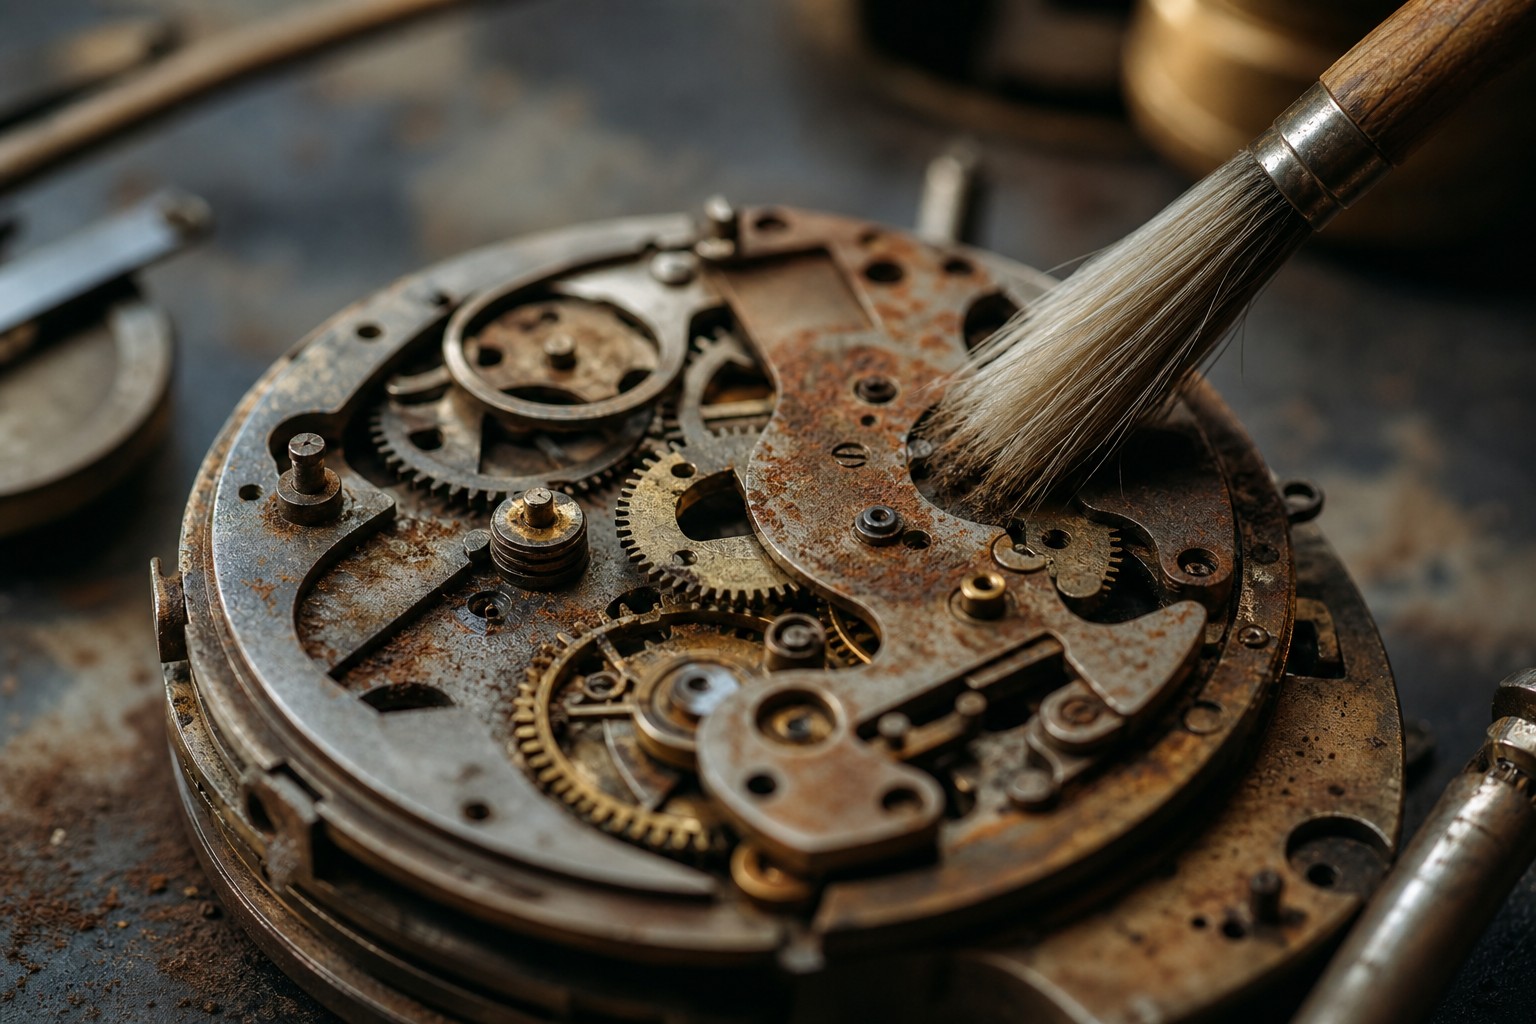
We also refuse unsafe shortcuts: forcing a mainspring, running a dirty movement to “free it,” spraying oil into a sealed clock or sanding hands smooth without documenting the original surface. These methods can make damage harder to see and more expensive to correct.

The owner should understand every major decision. If a surface is preserved, a pivot is corrected or a cosmetic change is refused, the reason is explained in plain English.

Antique clock with patina and restored metal detailsAged muted gold clock dial close upMechanical movement with rust control work
After collection

Good care continues at home.

Most mechanical clocks respond to their surroundings. Level floors, stable walls, ventilation, humidity, direct sunlight and careless winding all influence reliability. A clock that runs well in the workshop may need careful placement when it returns home.

We explain how often to wind, how to move the hands, when not to force a strike sequence and what signs suggest the clock should be stopped and reviewed. This prevents small problems from becoming major repairs.